Setting Up Bank Account for Each Class OR By Payment Headings
This allows you to declare the bank accounts you want to receive various payments into and the way you want the fees payment to be made. There are three categories of Fees, which a school needs to set up accounts for; these are - School Fees, Application Fees and Acceptance Fee.
1. School Fees: Depending on your preference, you could decide to receive all fees payment into one account, you can also decide to separate payments by class; and you can also decide not to separate by class but to split payments into different accounts based on the purpose or headings like : for instance you can decide that TUITION should go to one separate account while UNIFORM should go to another separate account, etc. Whichever option suits your school best, you can decide. But below are steps for a school that wants to receive payment into different accounts based on Class.
Here are the steps below -
- Login to your school admin portal
- Click on Payment
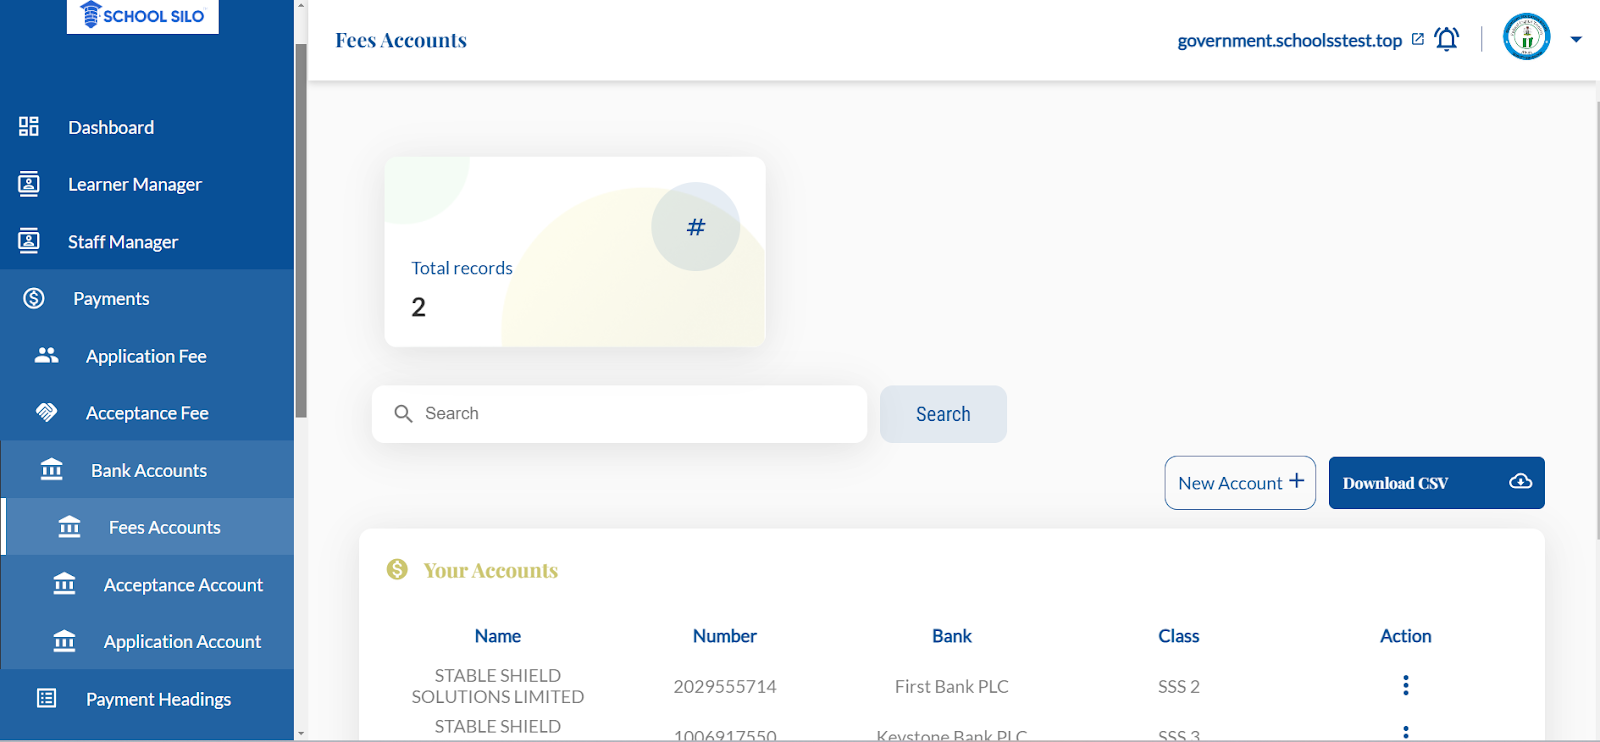
- Click on Bank Accounts
-
Then Click on the Option to Set bank accounts for each class. -

- Then Click on New Account as shown below to add an account to a class -

-
As shown below, you will choose your class, choose your bank and input your account
details for the account number to be generated automatically.
Confirm the account number and save as shown below -
- Repeat the same for each class in your school.
2. Application Fees:
To add bank account for Application Fee -
- Navigate to the left menu on your school admin dashboard
- Click on Payments and click on Bank Accounts
- Locate the Application Fee sub-menu and click to add the bank account.
3. Acceptance Fee:
To add bank account for Acceptance Fee -
- Navigate to the left menu on your school admin dashboard
- Click on Payments and click on Bank Accounts
- Locate the Acceptance Fee sub-menu and click to add the bank account